
Y ou can now post photographs and other images directly into discussions on FlyerTalk without needing to host the image files elsewhere, as was the way to post images in the past. Because images may now be posted directly onto FlyerTalk, no longer do you need to paste in a uniform resource locator — or URL — with BB code in order to post photographs, images and other graphic files.
How to Load Images on FlyerTalk
Follow these simple steps and your photographs will appear within the discussion when you post your content — and click on any of the screen shots shown below for a larger view:
STEP 1

To begin, either launch a new discussion or reply to posted content which already exists. In this example, click on the New Thread button — as indicated by the red arrow — to get started.
STEP 2
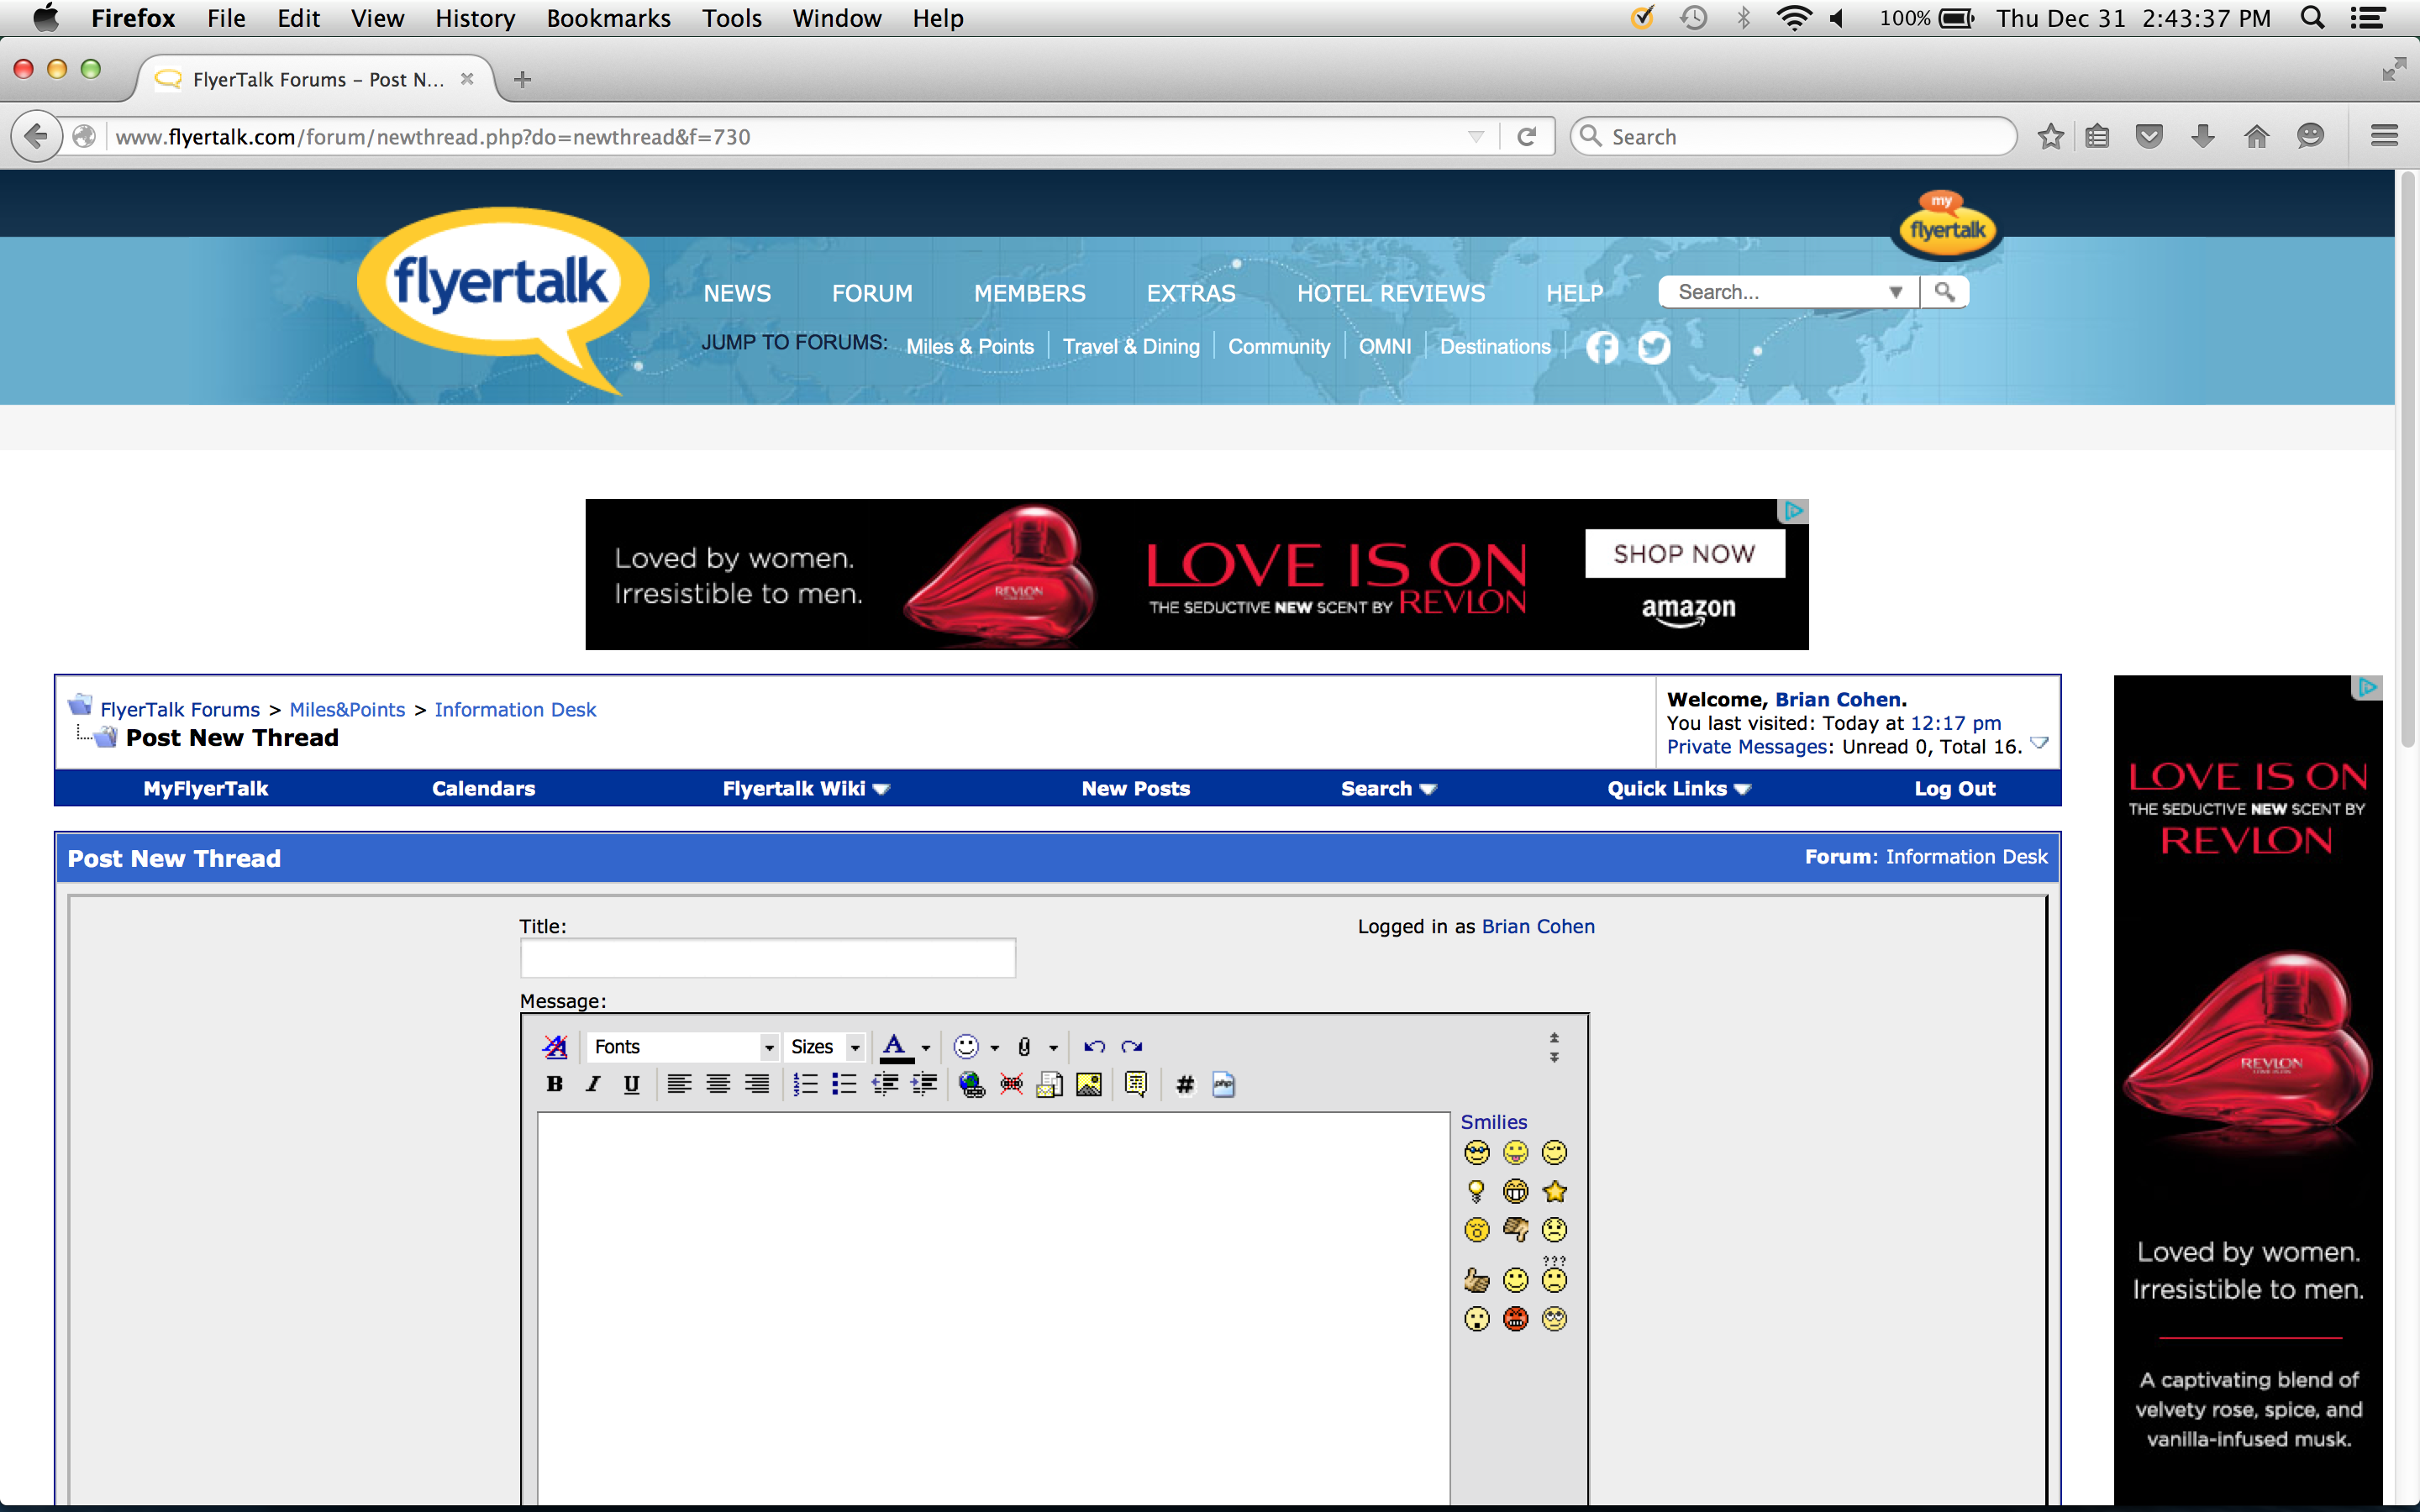
When you see the above view on your monitor or screen, scroll down to the Additional Options area.
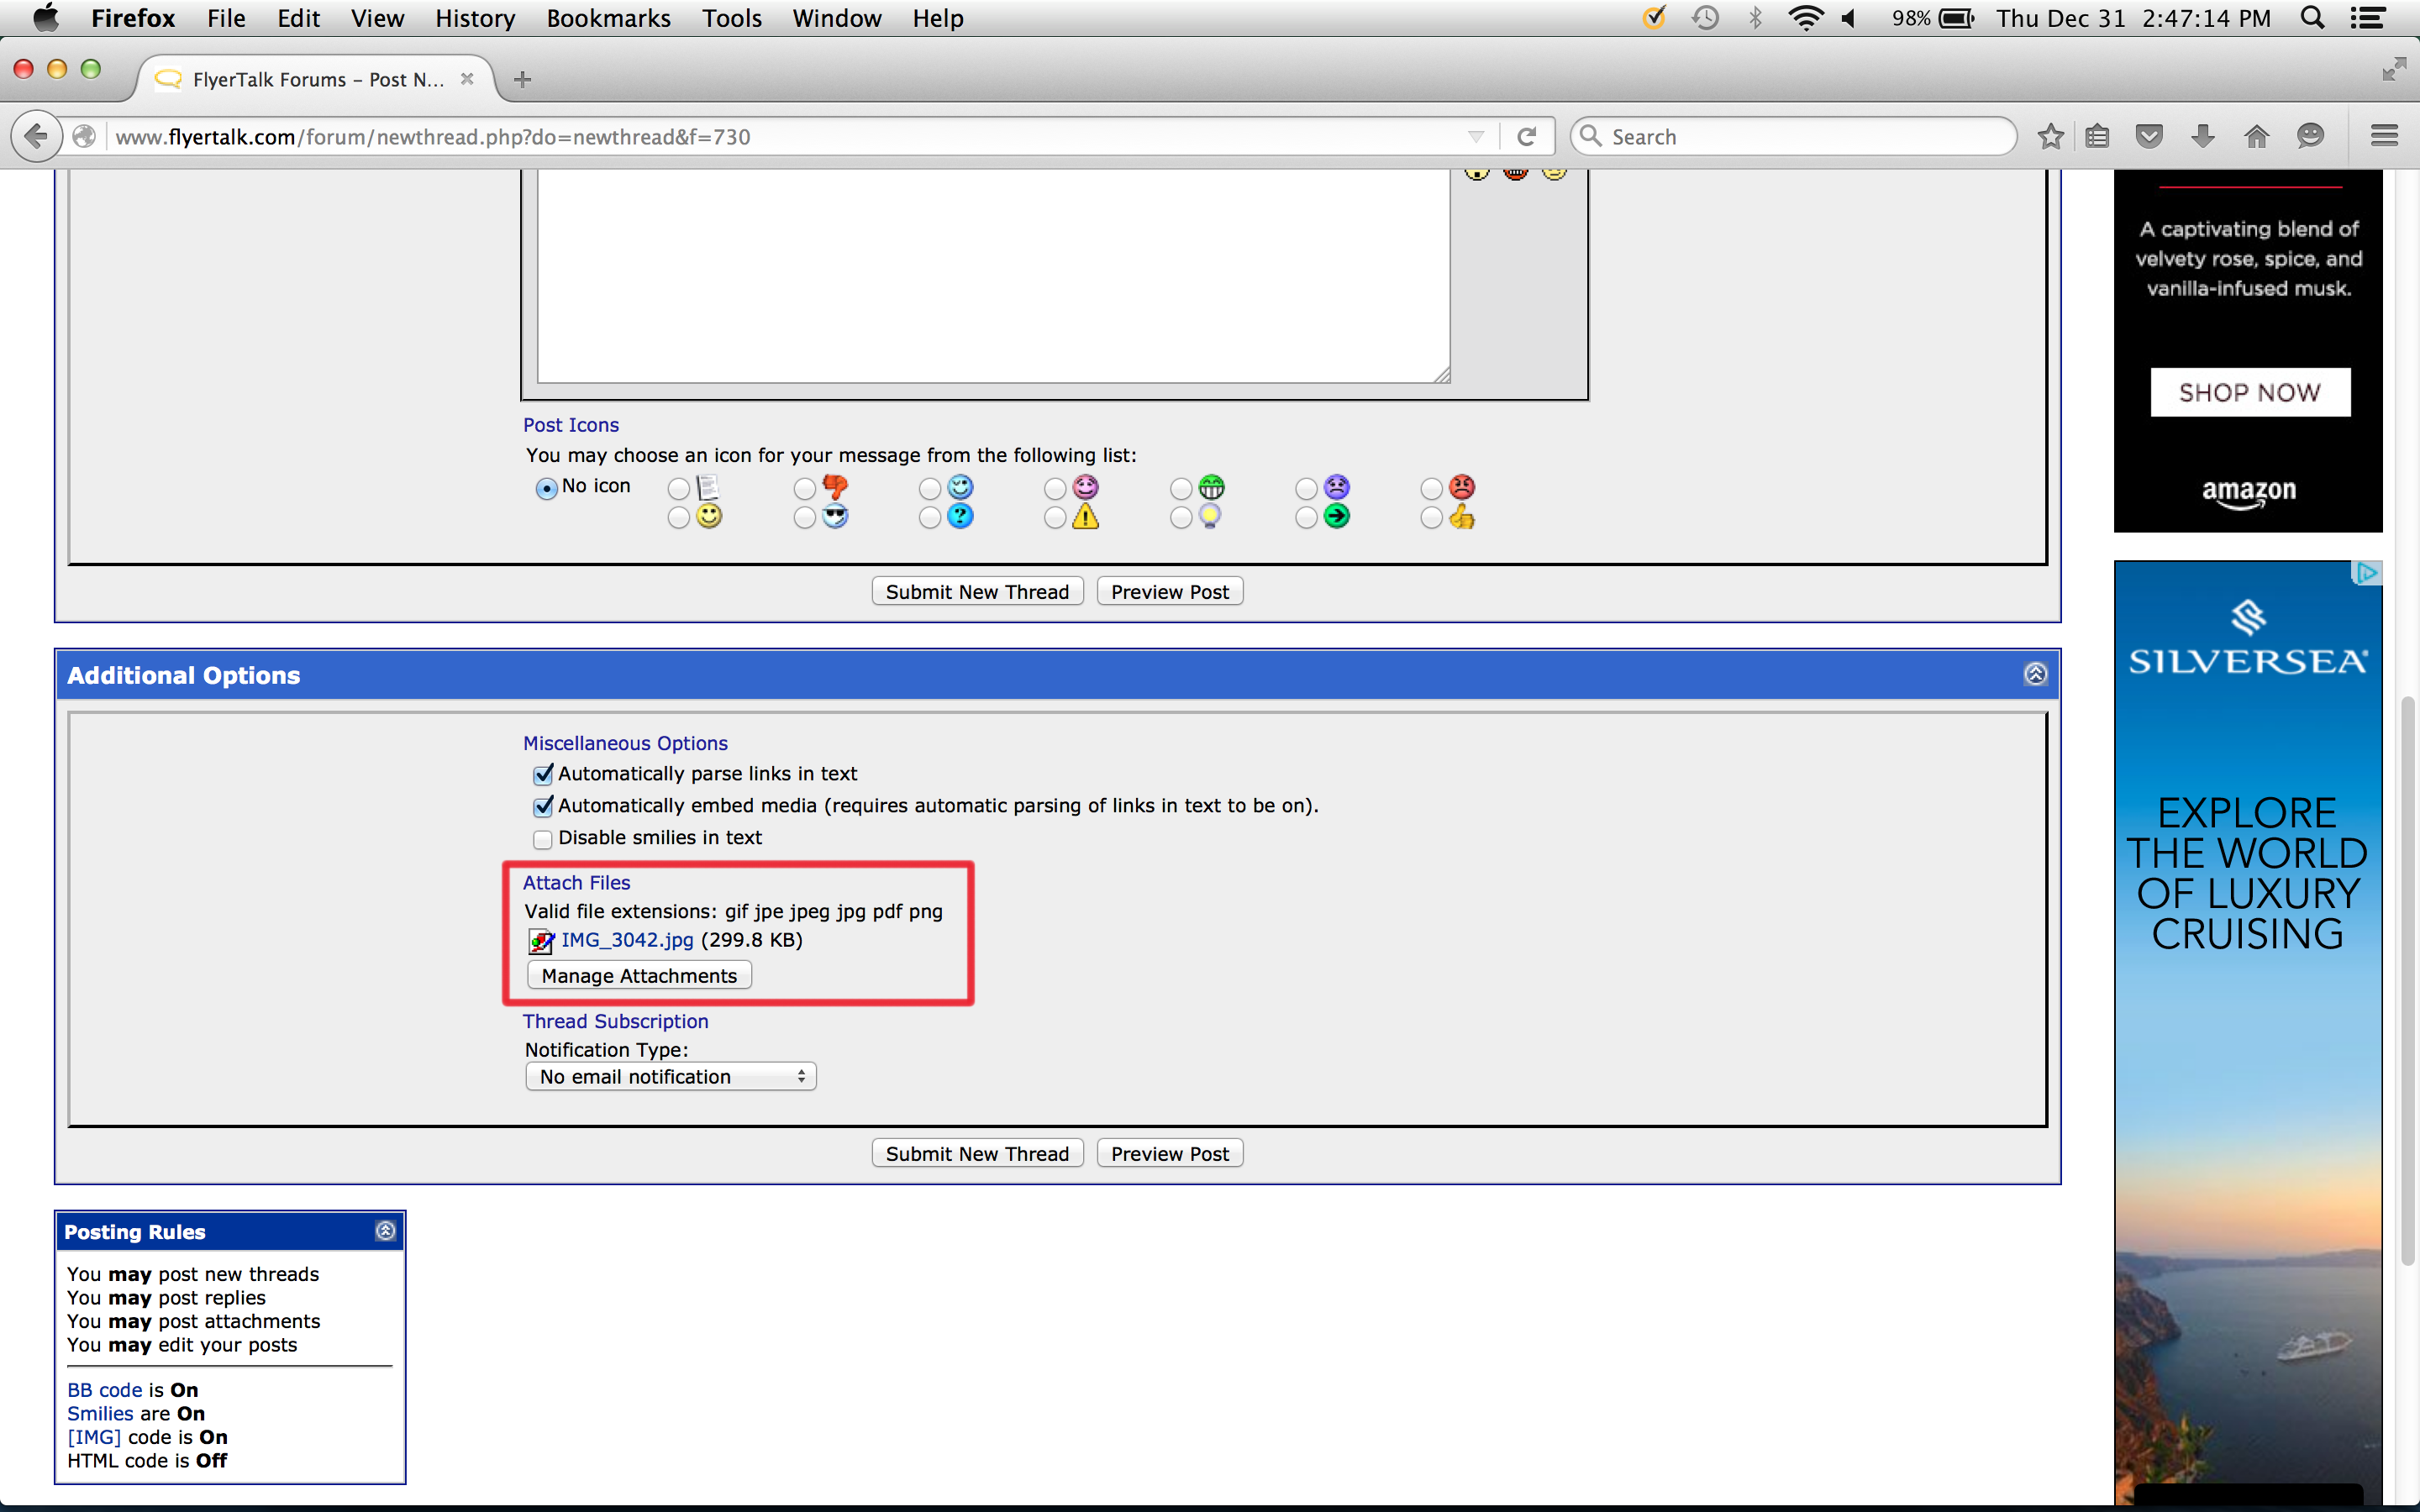
STEP 3
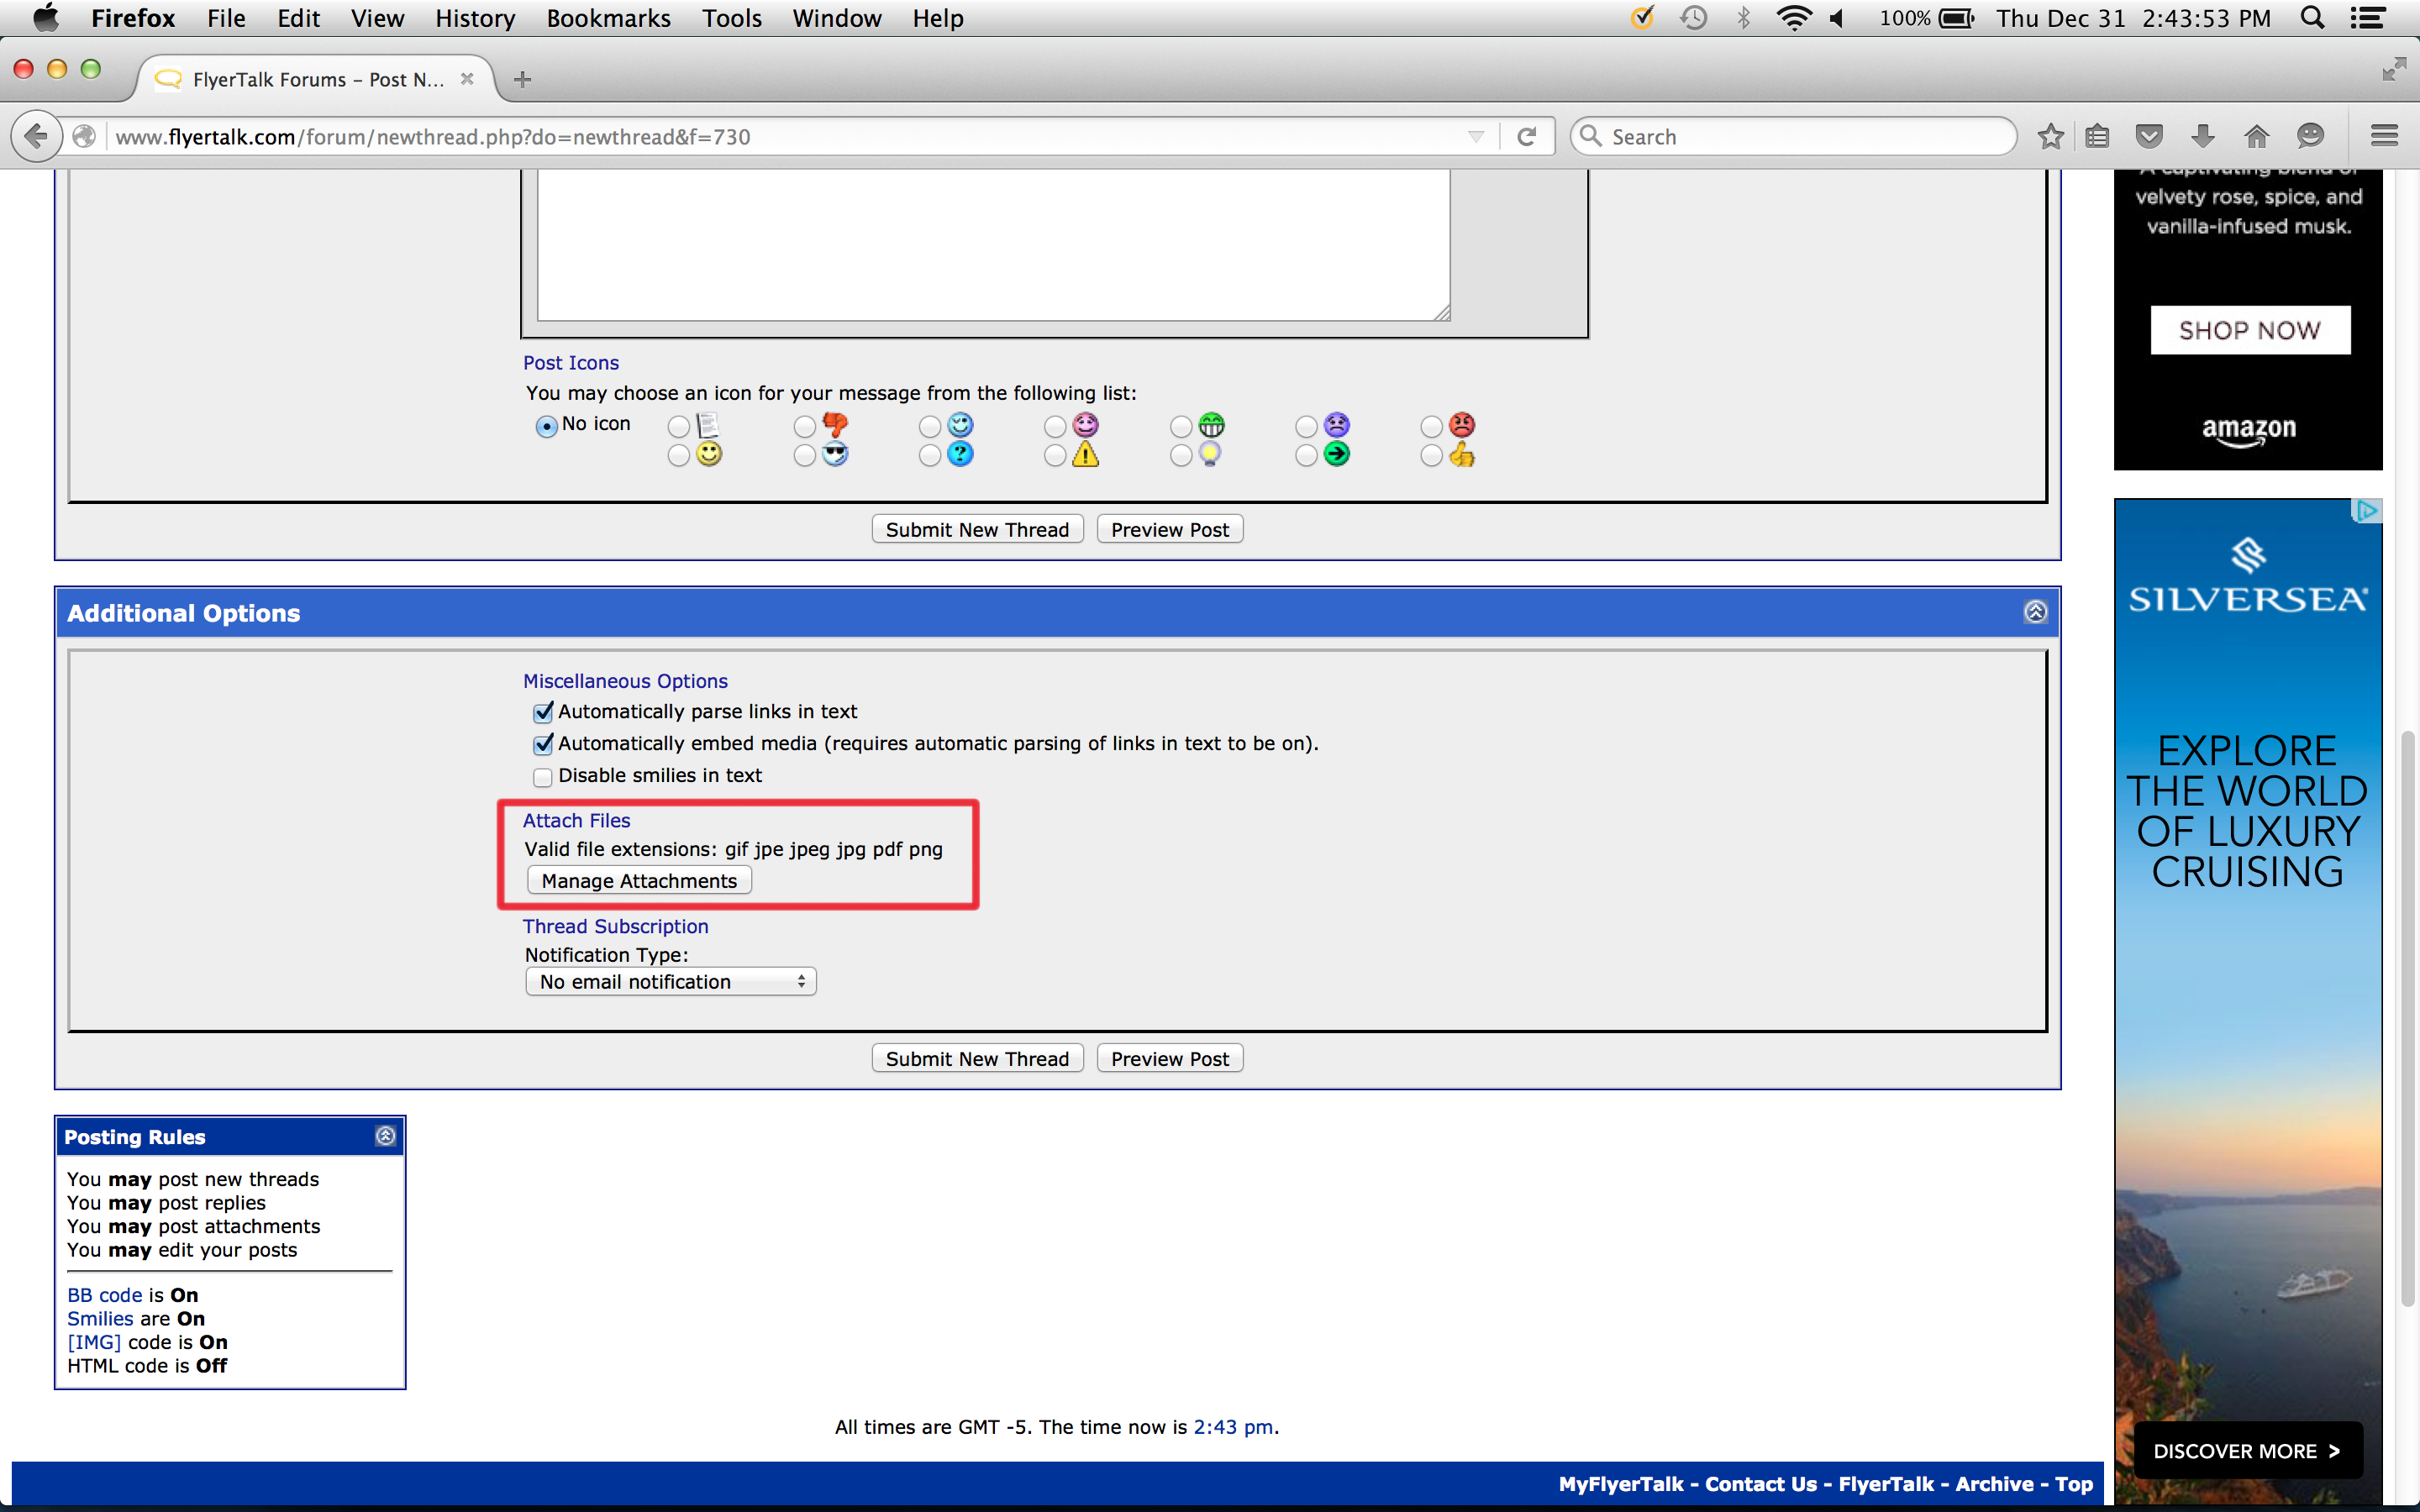
In the middle of the Additional Options area, you will see the area where you can attach flies, as indicated by the area outlined by the red rectangle. Click on the Manage Attachments button.
STEP 4
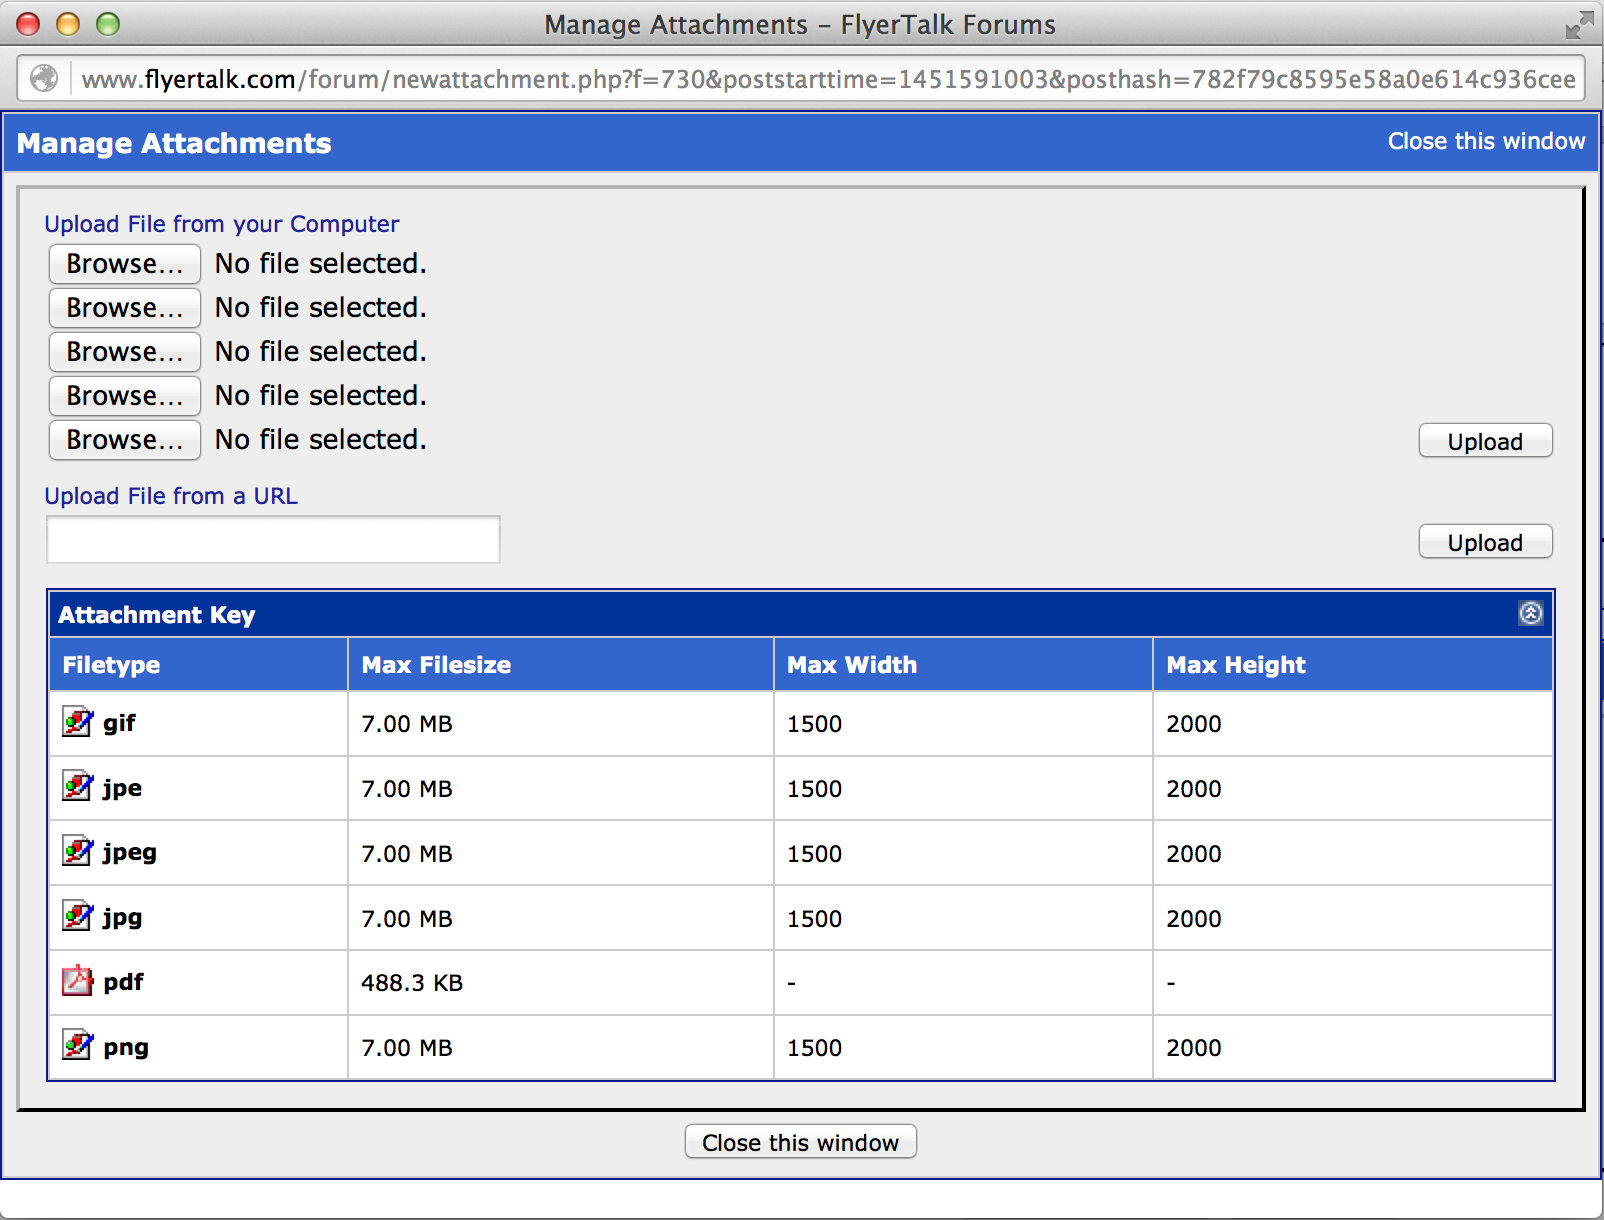
A window called Manage Attachments will appear. Note that you may upload files in one of six formats — .gif, .jpe, .jpeg, .jpg, .pdf and .png. — as well as their maximum limits. With the exception of .pdf files, the maximum file size can be no more than seven megabytes; while the maximum width can be no more than 1,500 pixels wide and the maximum height can be no more than 2,000 pixels.
You can load up to five images simultaneously; but in this example, one image will be loaded. Choose the first Browse… button located near the top left corner of the window.
STEP 5
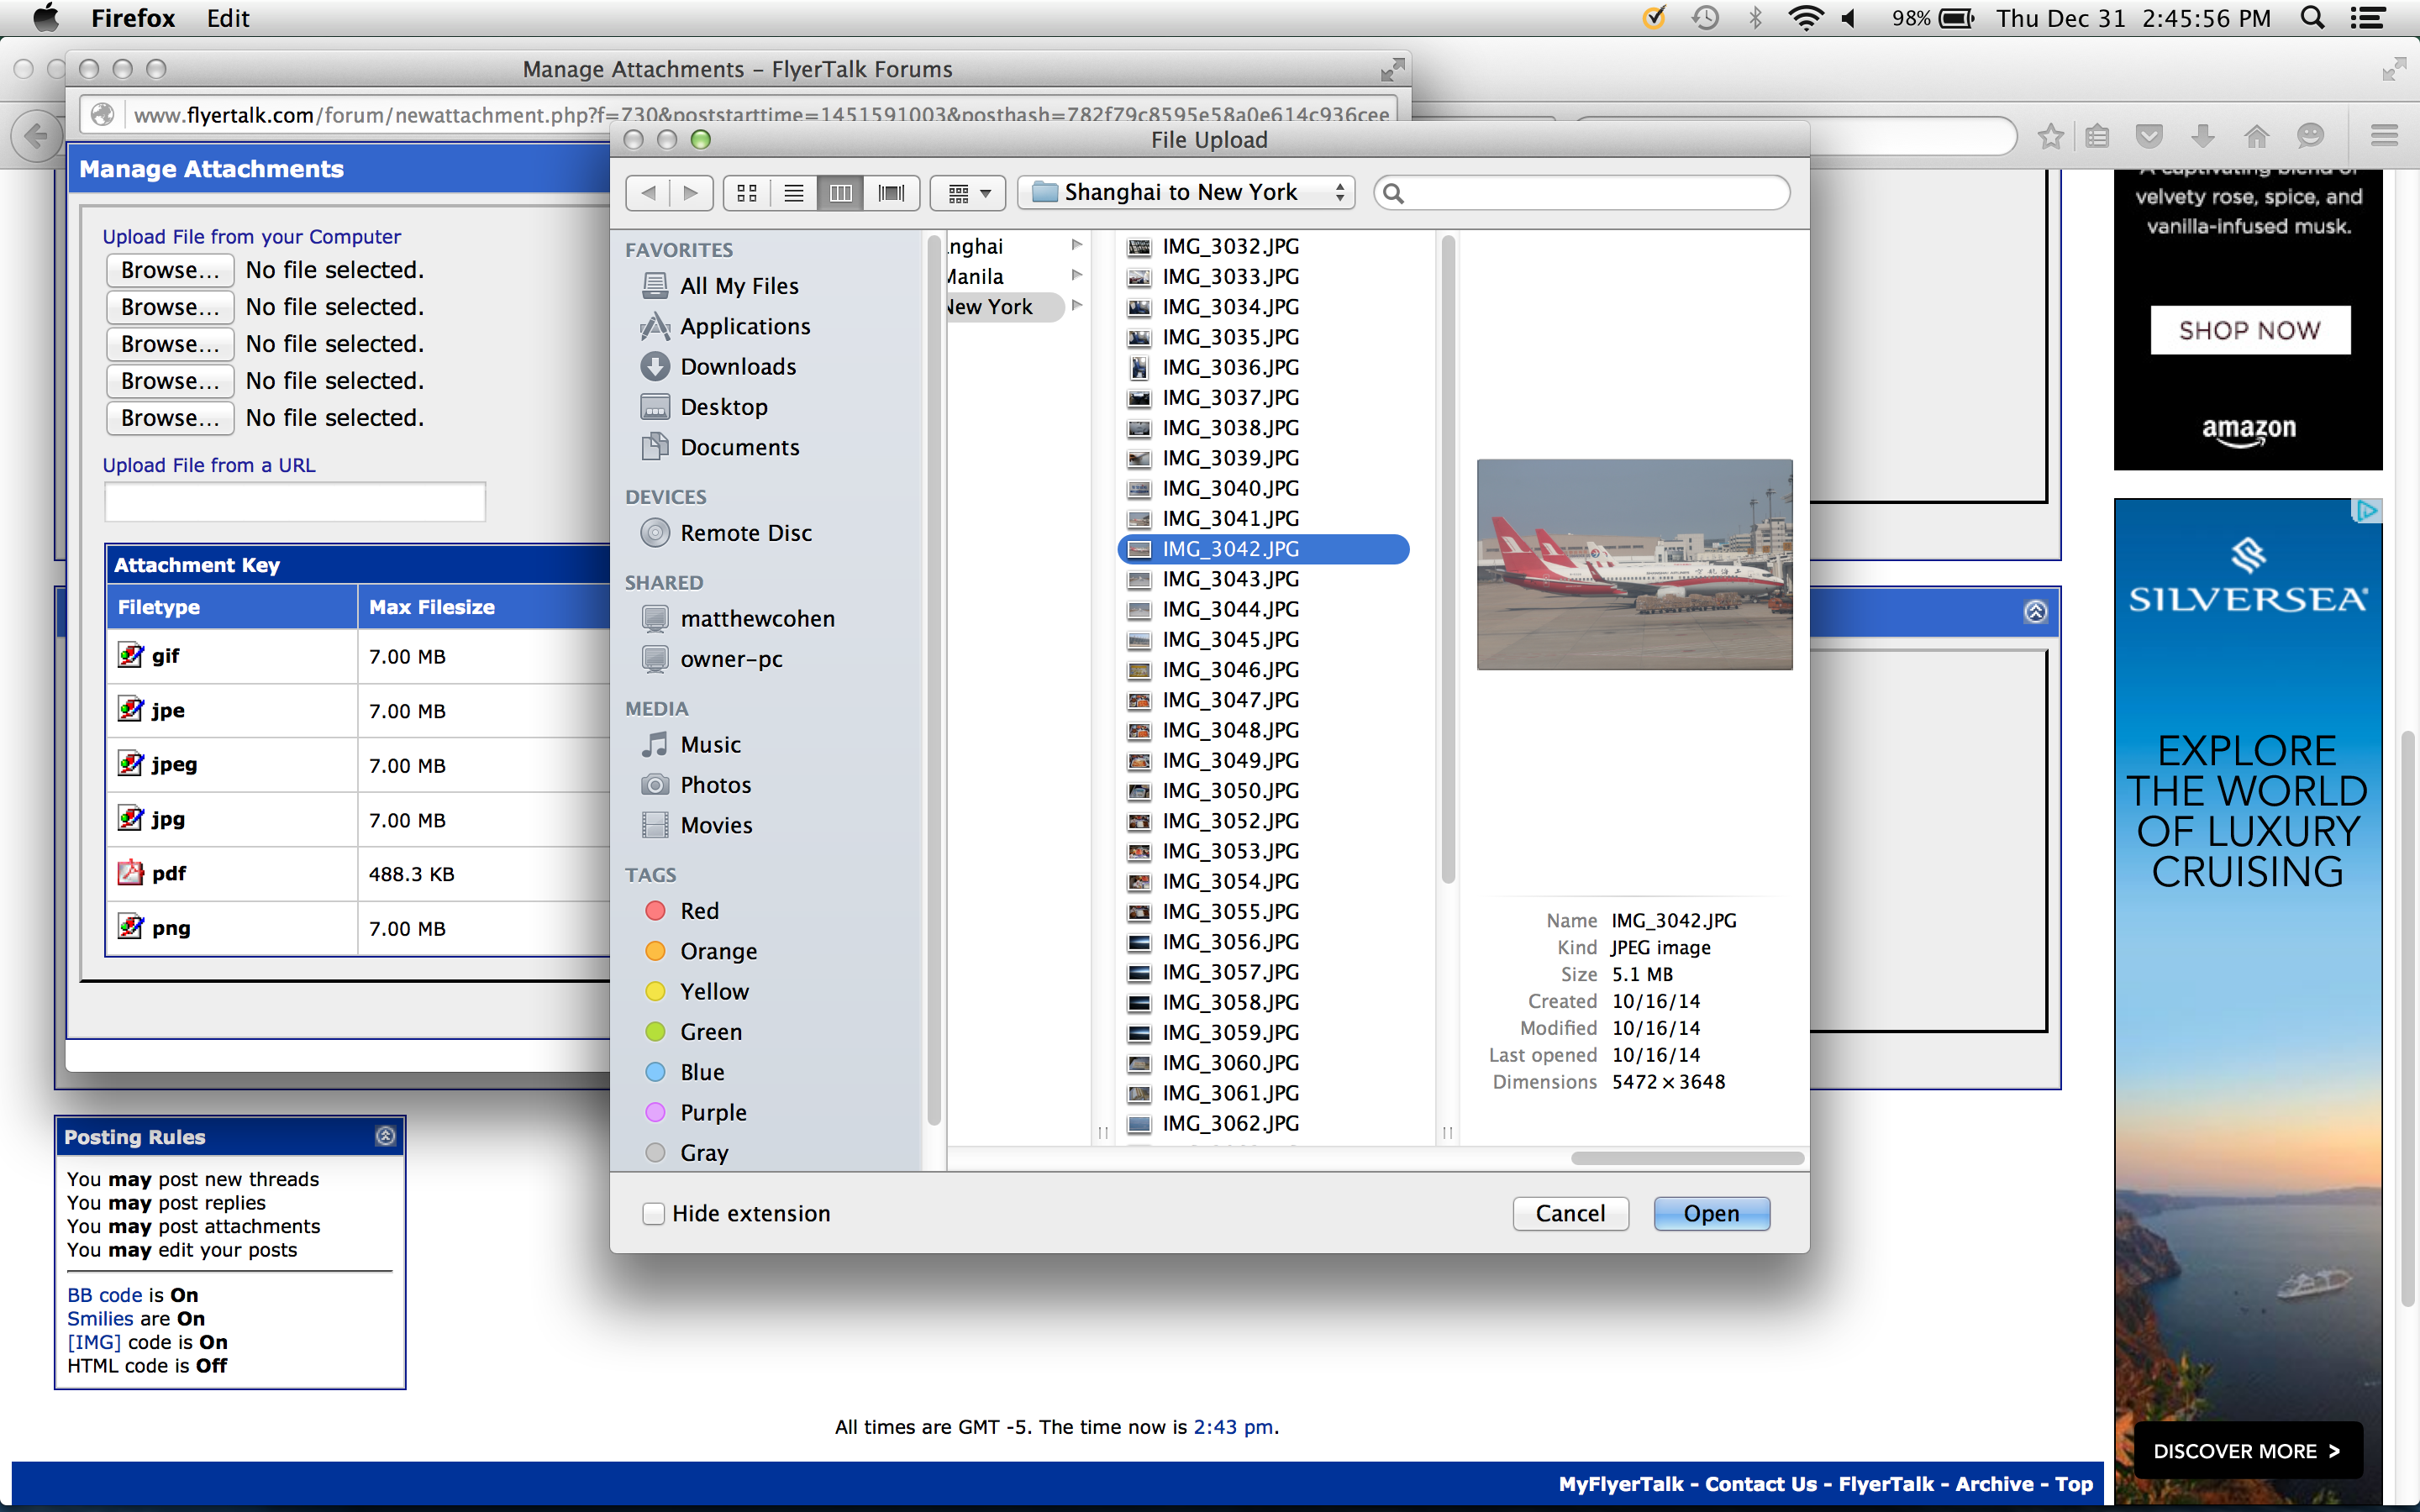
After you click on the Browse… button, a pop-up window will appear where you can select a file from yur computer — such as from a hard disk drive — or from your mobile library of photographs. Choose the desired file by clicking on the Open button.
STEP 6
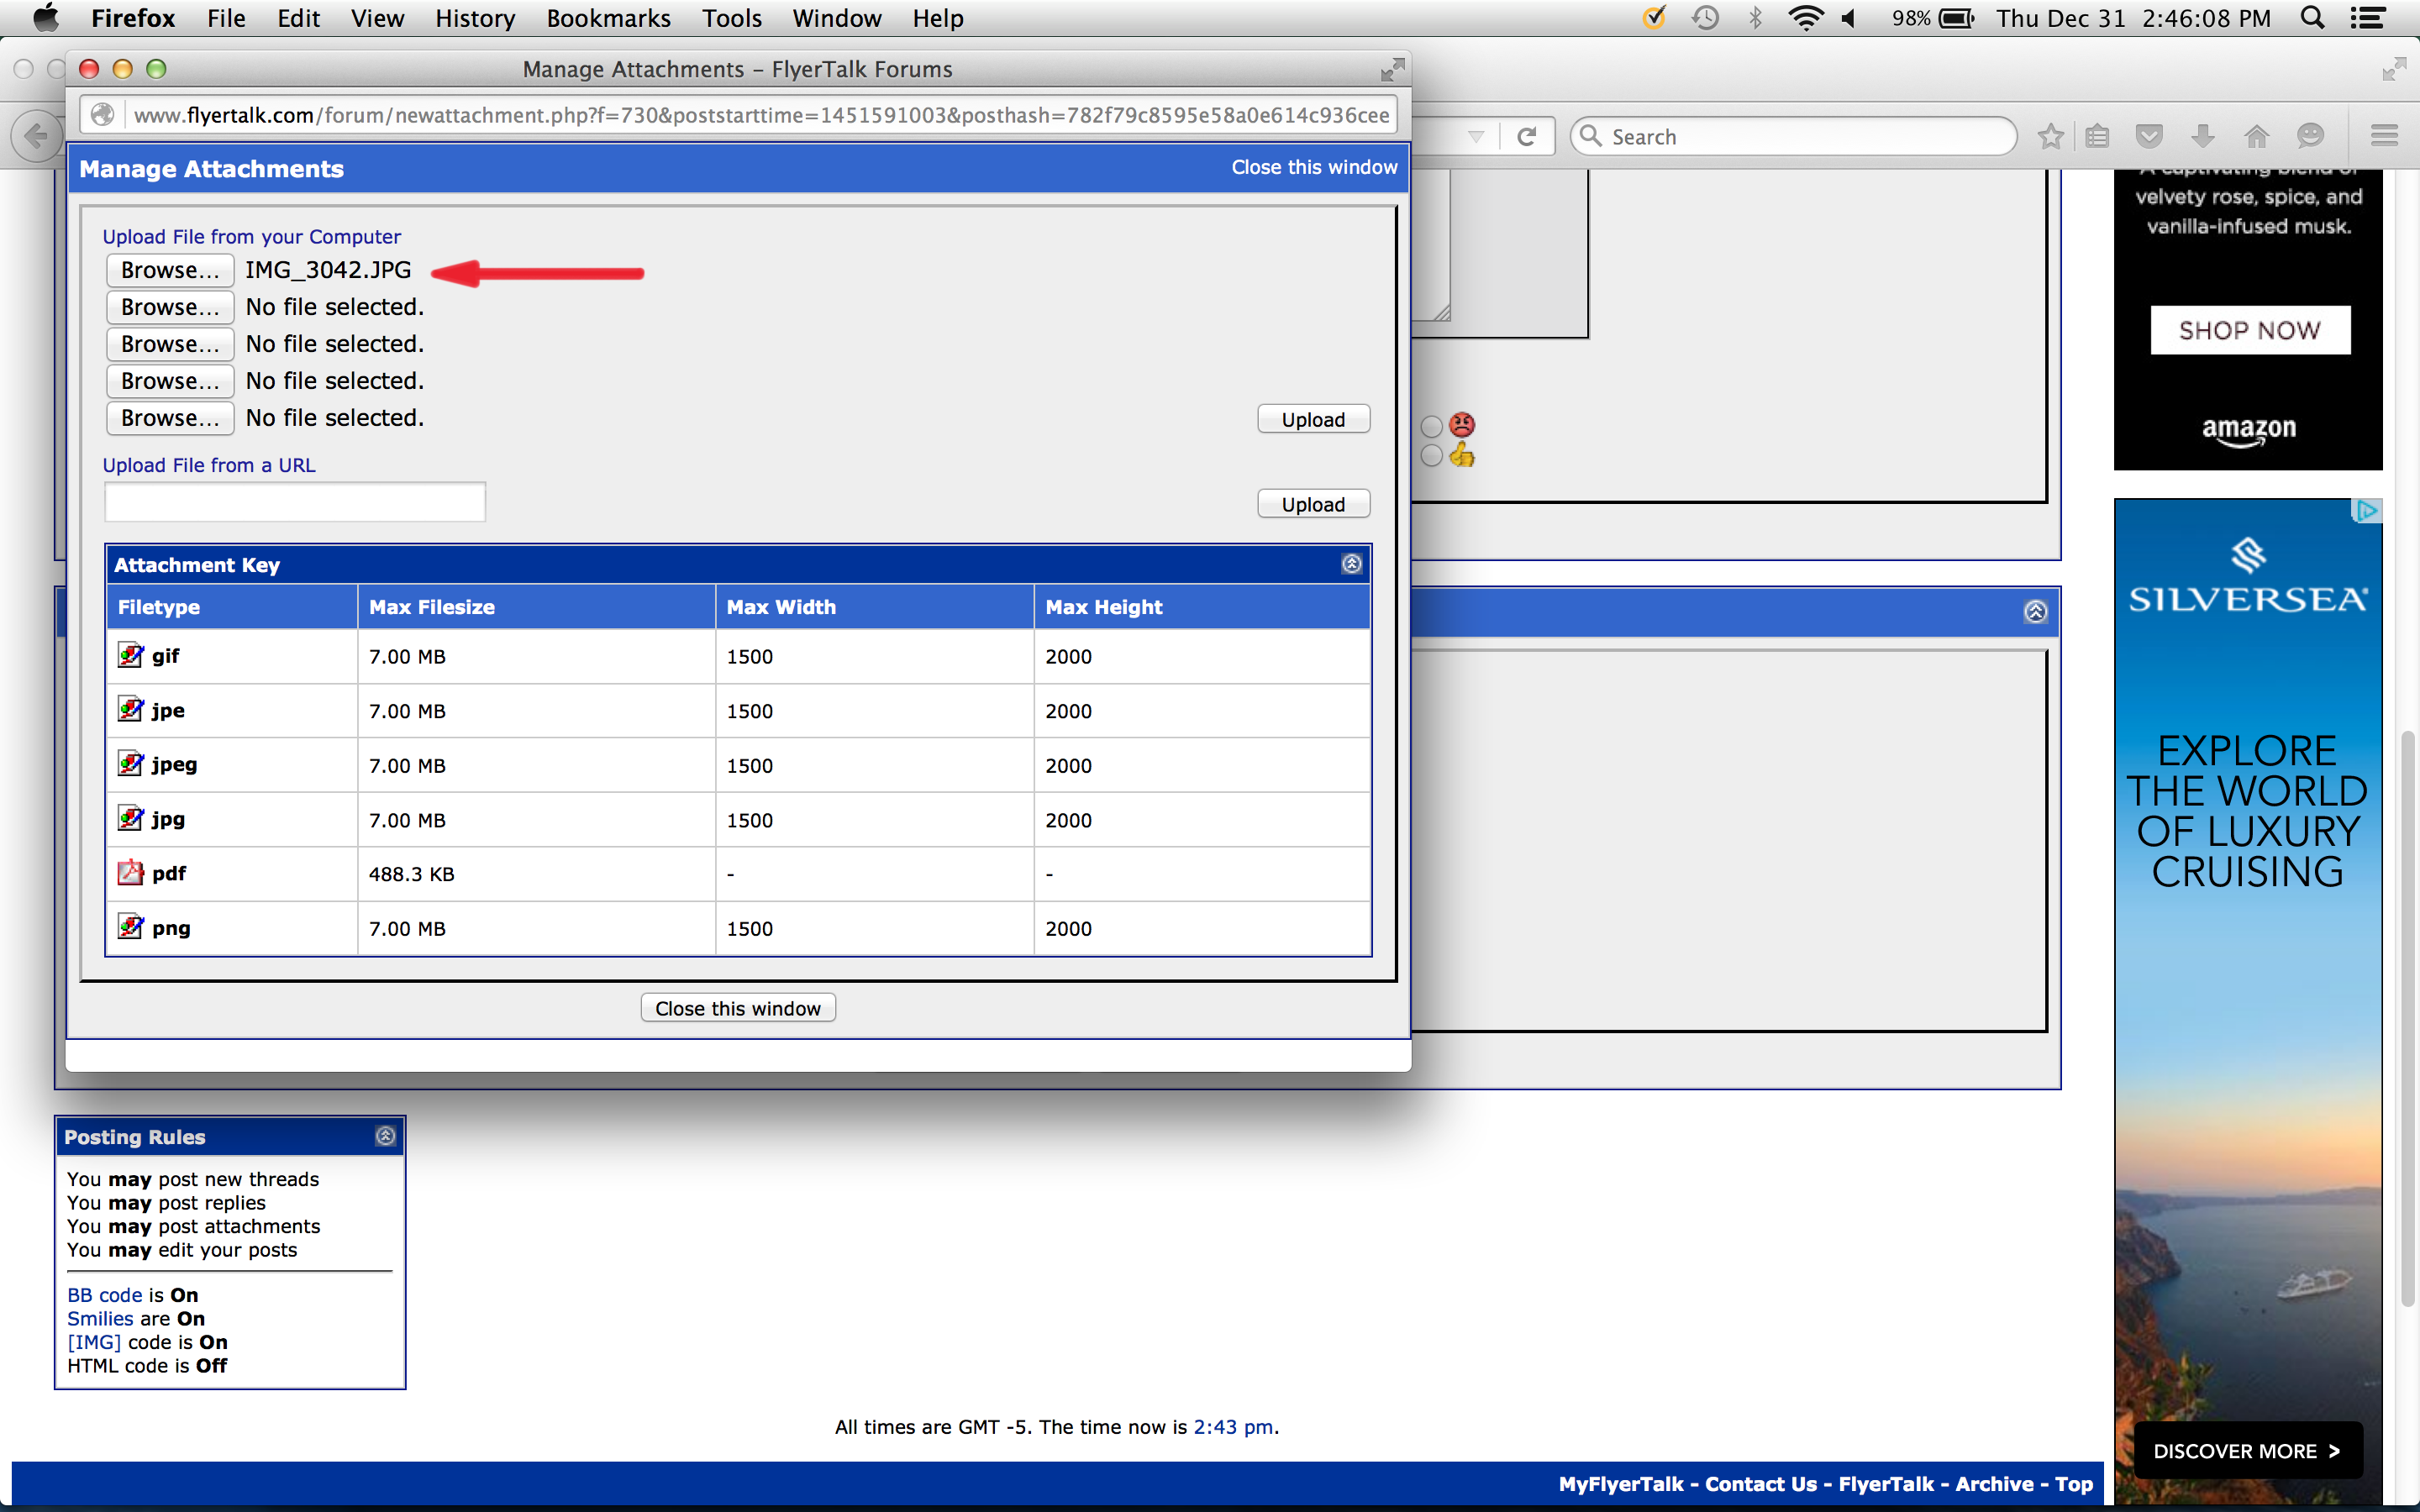
Once your file appears to the right of the Browse… button, click on the Upload button on the right side of the window. It will take approximately 30 seconds or so to upload the image; so you will need to wait until the image is uploaded.
STEP 7
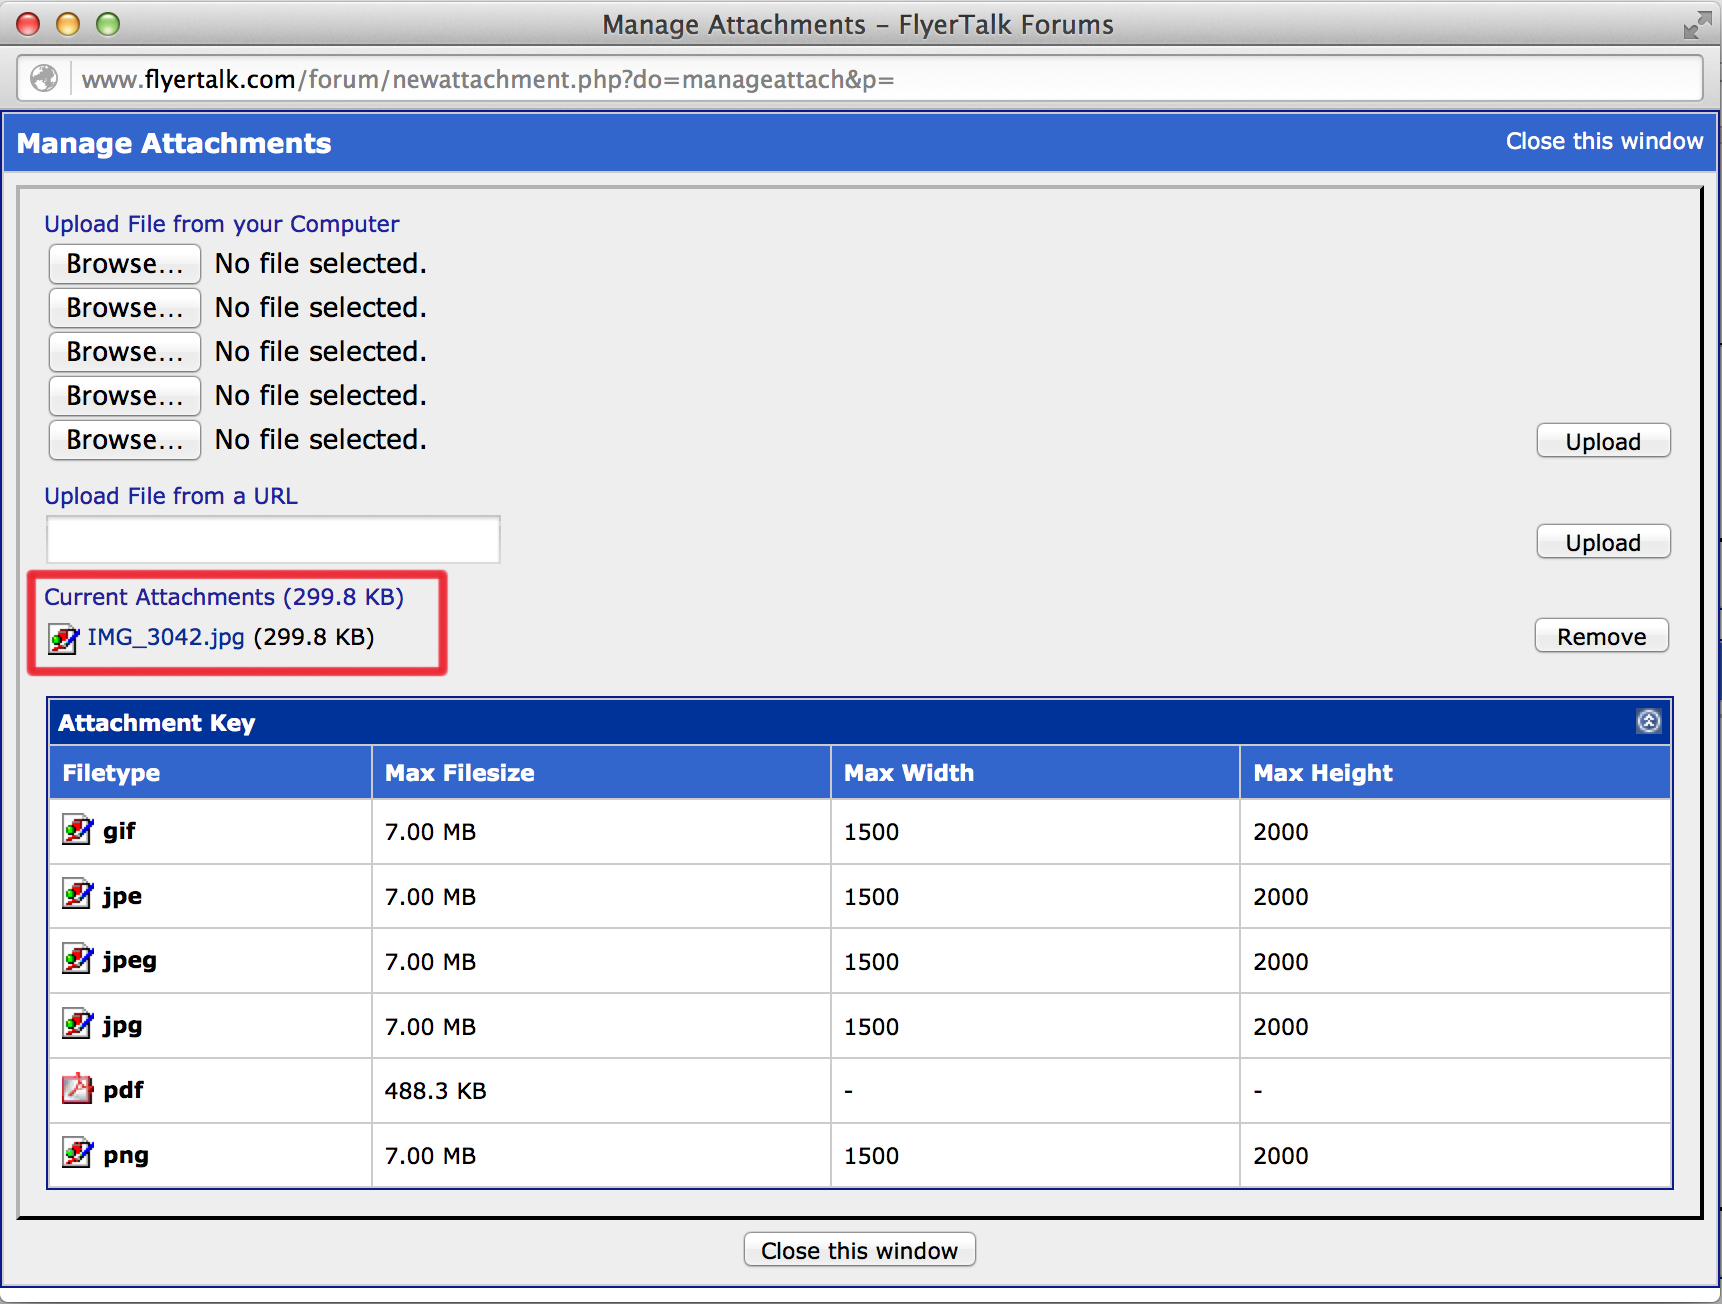
You will know that the image has successfully uploaded to FlyerTalk when you see the image file appear as indicated and outlined by the red rectangle. Once the image file has loaded, click on the Close this window button at the bottom to close the window.
STEP 8
Preview or submit the content of your post as usual on FlyerTalk.
Result
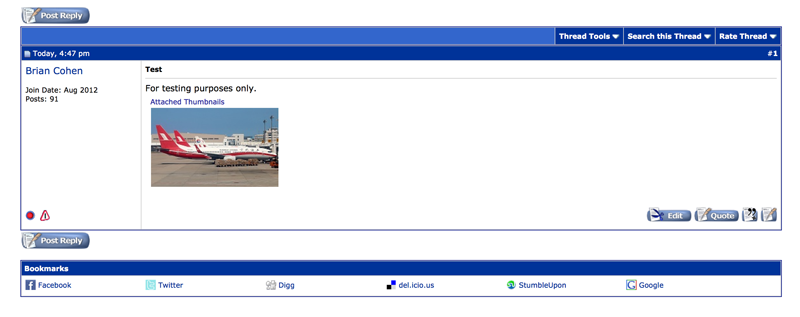
The photograph will appear with the content you posted. In this example, a new discussion was created.
The image appears small. Anyone who would like to see a larger view of the image can simply click on it…
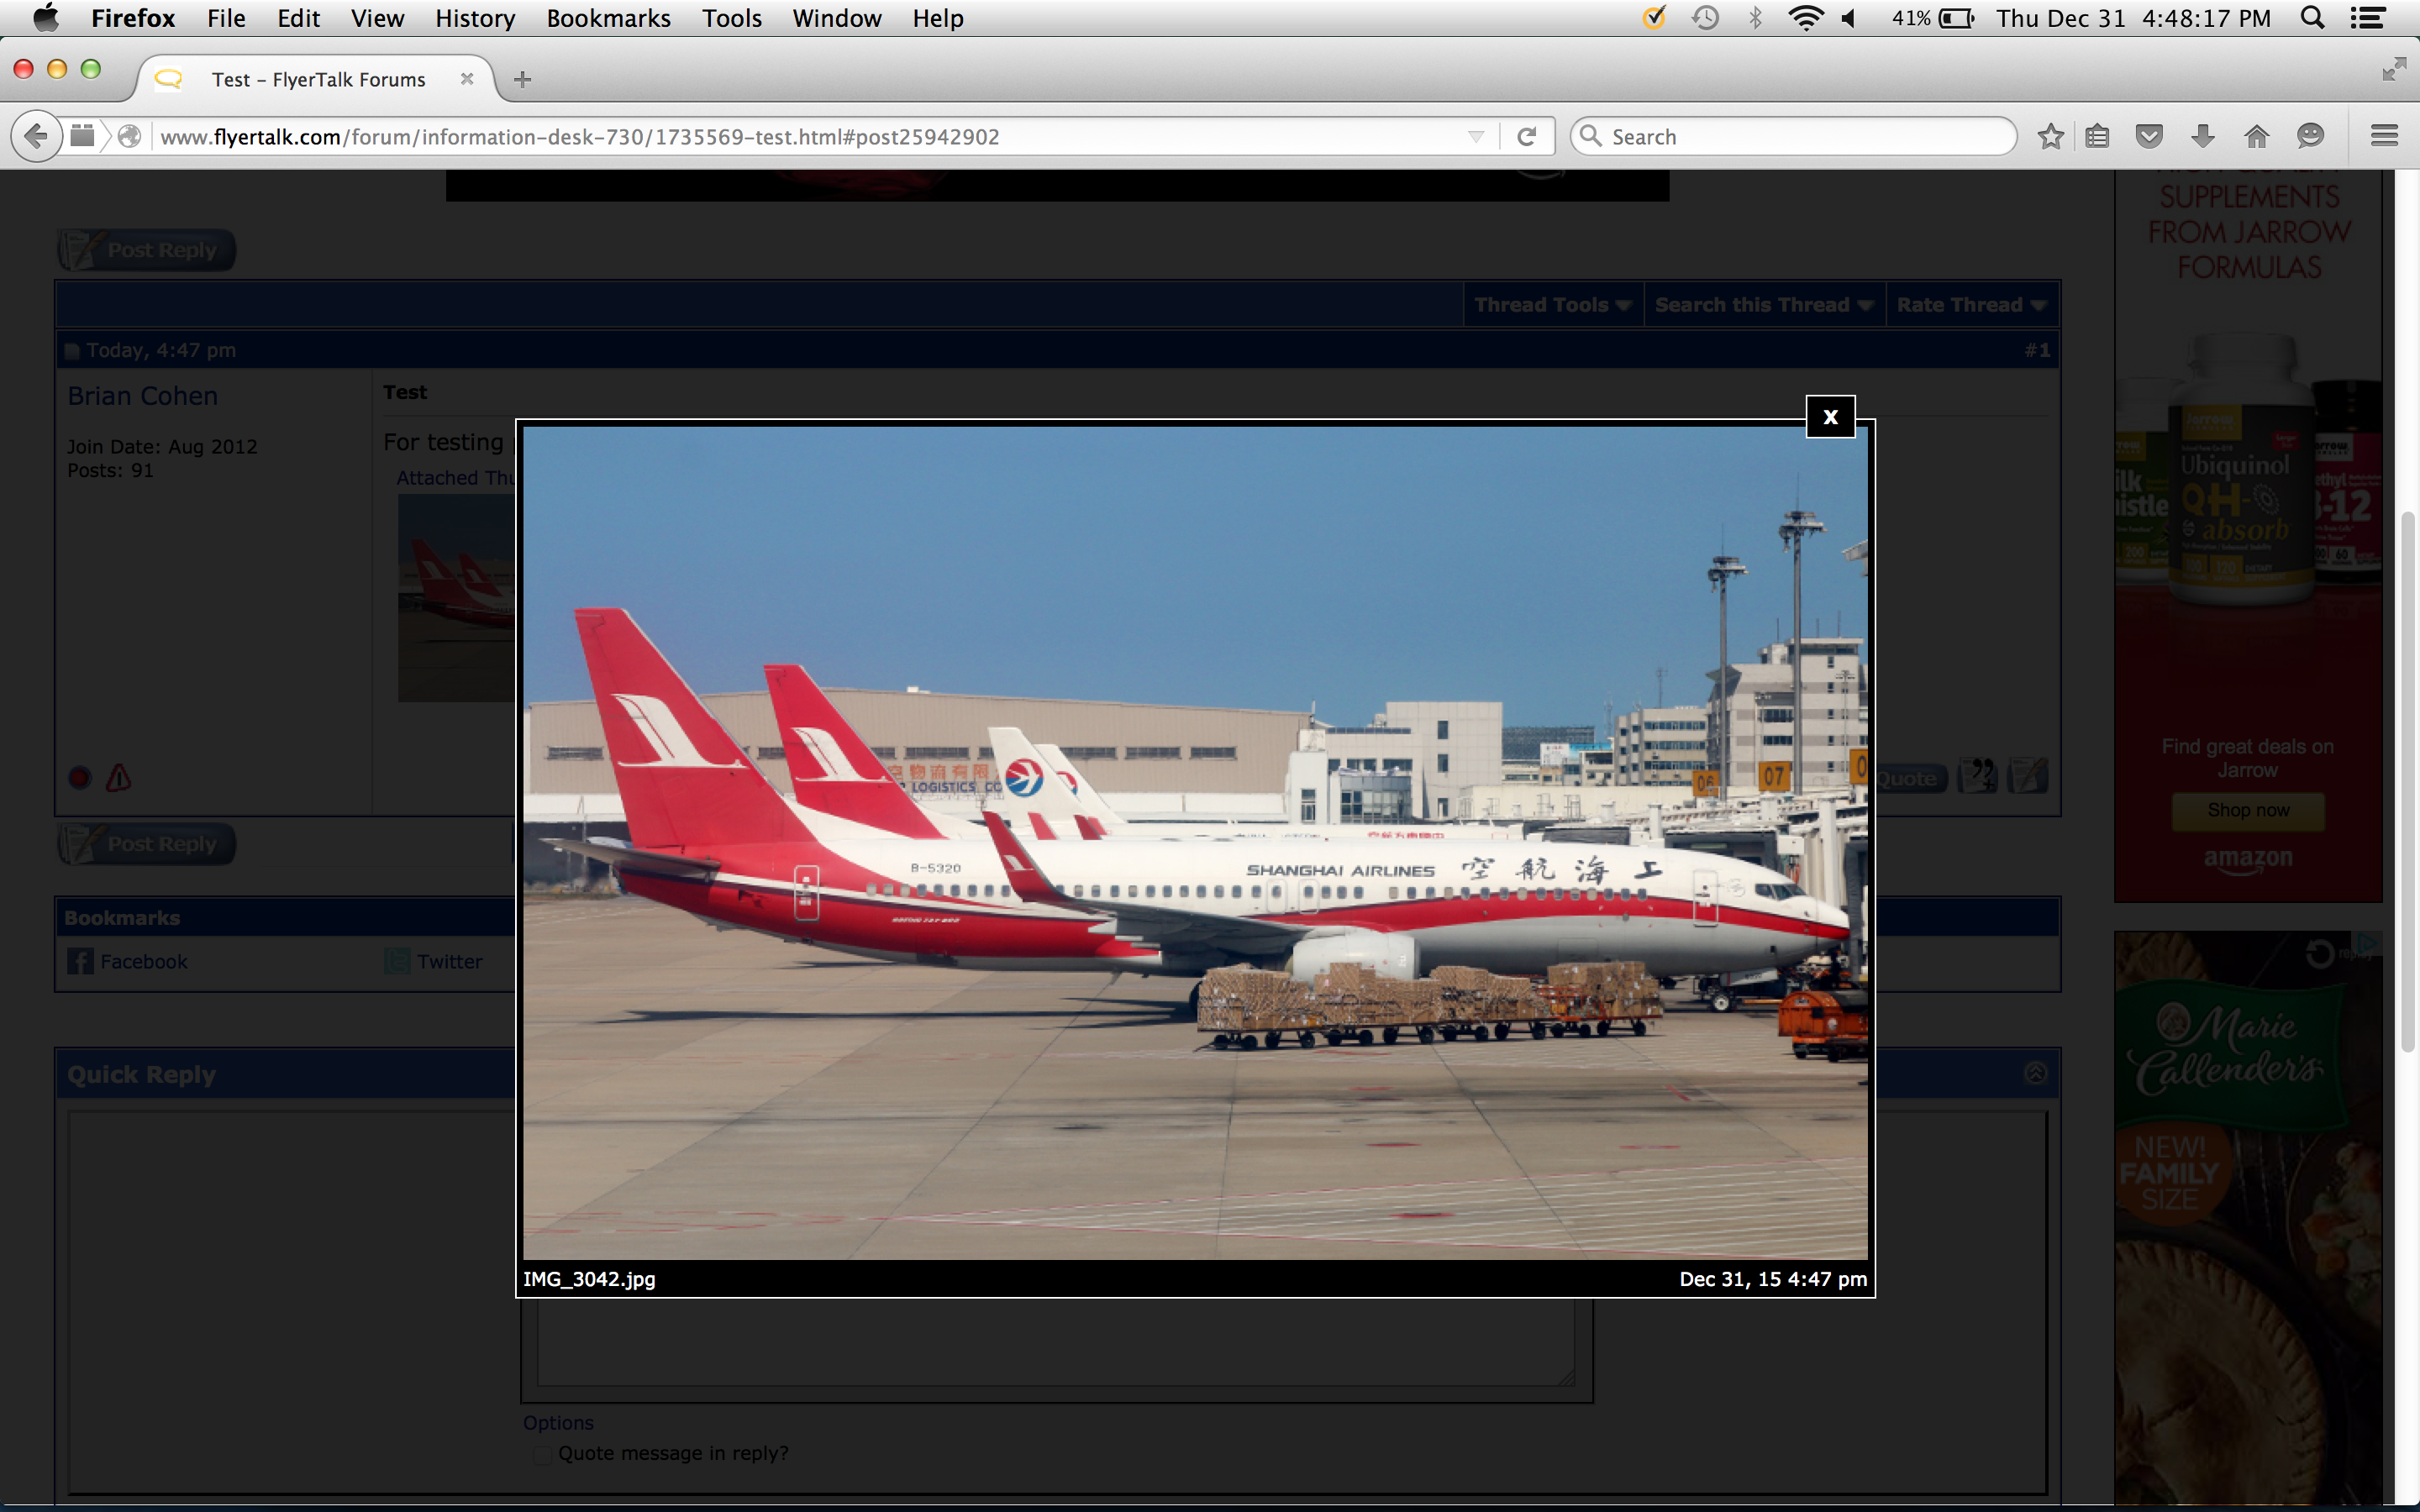
…and the image — along with its file name and when it was posted — will appear on its own in a larger view if the information within the file is enough to support a larger view.
To close the image, simply click on the X near the top right corner of the image window.
Summary
This feature — which has been long overdue on FlyerTalk — is currently in production for only the “full desktop version” of FlyerTalk. The “mobile skin” currently does not have this capability at this time. You can definitely post photographs using this method from your portable electronic device by ensuring to click the View Full Site button at the bottom of your mobile browser first.
Posting photographs, images and other types of graphics is now much easier because of this functionality. You can also post images directly from other Internet web sites using the URL.
Thank you, Internet Brands, for a useful and functional early gift for 2016.
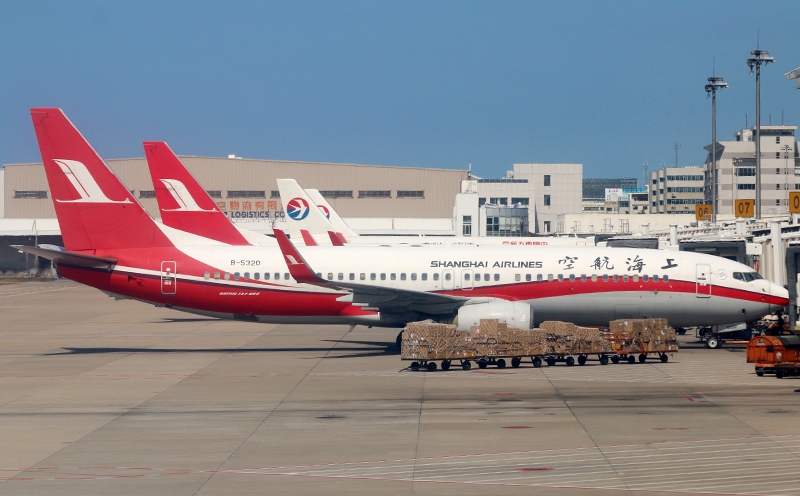
Photograph ©2014 by Brian Cohen. All screen shots ©2015 by Brian Cohen.
